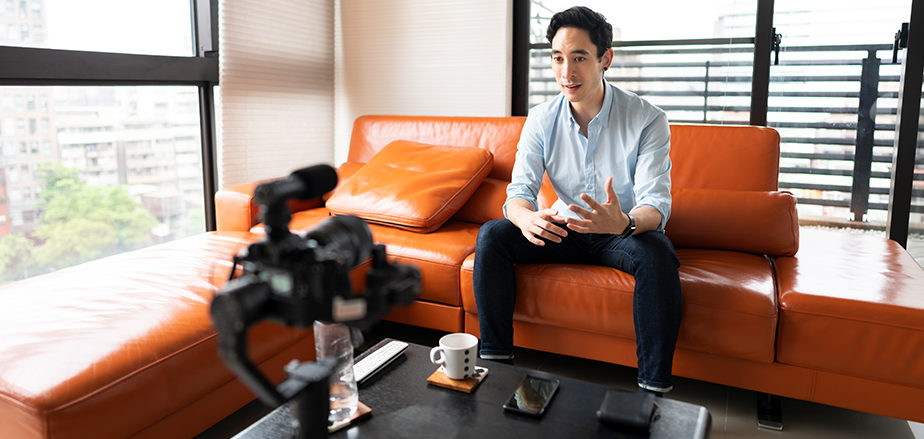
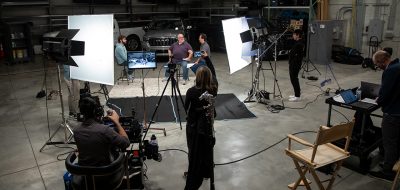
Whether you permanently work from home or not, being able to shoot a decent video has become a core skill set required for just about everyone wanting to communicate effectively. The fact is that as we become more global, we need to capture, show, demonstrate, and communicate, and video is a great way to do that.
The good news is that as gear gets cheaper and more affordable, it also gets better in quality and easier to use, making it more accessible to the rest of us. Today we will look at some gear and techniques that must meet three qualifications.
- It has to improve something dramatically. It has to affect the quality of your end product directly, otherwise what’s the point?
- It has to be relatively affordable. “I’ll give you a few options to choose from depending on your budget.”
- It has to be easy to use. “I don’t have time to learn a complicated piece of tech. I just need it to work” We’re talking more or less plug and play here.”
We’ve all been subjected to that video of a person shooting up their nose, with what looks to be Edison’s first light bulb illuminating them, talking to us from an echo chamber, or sitting in front of a window as if they were in the witness protection program. The good news is that each of these problems is easy to fix. All you need is a little bit of knowledge and, in some cases, an affordable piece of equipment.
AUDIO
Good audio is arguably more important than good video. The truth is people will tolerate a lower quality picture before they tolerate low-quality audio.
My recommendation is this $60 video mic by Rode. Simply plug it into your phone or camera, and presto you’ve dramatically improved your audio. It’s affordable, makes a massive improvement, and couldn’t be easier to use.
If you want to take it to the next level, we need to get into a lavalier mic set up. Typically a decent one of these with a mic starts at $700-$1000. I present to you the Rode Wireless Go for $200. One end plugs directly into your phone or camera while the other clips onto you. The cool part is that the transmitter has a mic already built-in. With this setup, you can be as far away from the camera as you want, and the audio is still crystal clear. Once again, affordable and sounds excellent, and is plug and play.
If you do nothing else after reading this, get a good mic. It will immediately set you apart from the others.
LIGHTING
No matter what camera you are shooting with, if you have bad lighting, it will look bad. The opposite is also true. No matter what camera you are shooting with, if you have good light, you can get some fantastic results.
My recommendation is the $45 Aputure AL-M9. Aputure is known for its high-end lights, but this tiny light packs a punch with very complimentary soft light. It can easily be attached directly to your camera or any 1/4 inch screw compatible stand. I’ve even taped it to the wall. Additionally, you can easily adjust its brightness to suit your shooting needs. For this price, it’s a no-brainer.
If you want a lot more light, with more control and convenience, the $169 Core SWX TorchLED Bolt 250W is a fantastic option. This light is very bright, and you can adjust the color and brightness with a convenient remote. I like it because not only does it look beautiful, it’s also compact and easy to store and still affordable.
CAMERA
I’ve been hinting at this, and it’s true you CAN get started with your phone. So long as you know your phone’s strengths and weaknesses.
Its Achilles’ heel is light, or the lack thereof. Phone cameras do not do particularly well in low-lit rooms, including most offices, whether home or in an office building. Hence the importance of having an extra light in your kit. Having said that, don’t wait to start shooting because you don’t have a fancy camera. Start with your phone, add in a good mic, and a light, and you’re ahead of the curve.
If you want to upgrade your image quality substantially, I recommend one of the entry-level mirrorless cameras on the market.
- They are relatively inexpensive.
- You graduate to a camera with upgradable lenses, so it’ll last you longer.
- They perform better in low light.
- You get that beautiful shallow depth of field, which we all think looks so cinematic.
- Examples of a camera like this would be a Canon EOS M50 or a Sony a6000, both of which you should be able to pick up for approx $500 with a kit lens included.
STABILIZATION
You’re going to need something to put your camera on while you film yourself. For beginners, a simple tripod will do the trick. I’m a big fan of the $39.99 Neewer tripod. It’s small, lightweight, and does the trick. There are many more expensive options out there, but for starters, this is all you need.
If you want a smaller tabletop solution, you can look at something like the Manfrotto Pixi for around $50.
COMPOSITION
Let’s take a moment to talk about composition (or pointing your camera). When you talk about a tripod, you automatically imply that you’re going to set your camera on it and point it somewhere. How you point it and how you frame your shot can make a huge difference in how professional your video looks. Best of all, this part is free. So here are your completely free composition 101 tips.
- Clean up. The less you have in your shot, the better. Get rid of anything and everything you can. Take a moment to look at what is behind and around you. Is your kid’s toy in the shot on the floor? Dirty laundry in the room down the hall? Is an unsightly extension cord hanging out of the wall? Little things like this go a long way.
- Rule of thirds. This is the easiest way to make sure your shot looks a bit more interesting. Simply draw two vertical lines and two horizontal lines across your screen. Now place your subject on any of the intersections.
- Take advantage of any pre-existing lines. A simple rule is to try to have any existing lines point toward your subject. This will naturally draw the viewer’s eyes to the subject.
Remember that these composition techniques apply whether you’re shooting a blockbuster movie or a webinar with your webcam.
B-ROLL AND GIMBALS
If you’re already using a lot of the gear and techniques discussed above and want to take your video to the next level, add some B-roll. B-roll is footage that demonstrates what you are talking about in your main video (unofficially called A-roll). You can use this footage to add interest and help explain or show what you are talking about.
One of the coolest and now most affordable tools to help you capture cinematic B-roll is a gimbal. In a nutshell, it stabilizes your footage while you move your camera around, allowing you to get some beautiful moving shots without all the shakiness. While there is some technique to be learned to master your gimbal, straight out to the box, it will already improve your footage immensely. For your phone, I suggest looking at the $139 DJI Osmo Mobile 3. If you’re using one of the mirrorless cameras mentioned above, take a look at it’s $439 older brother the DJI Ronin-SC.
As you can see, it doesn’t have to be expensive or complicated to dramatically improve your self-shot videos, no matter where you are shooting.


